 |
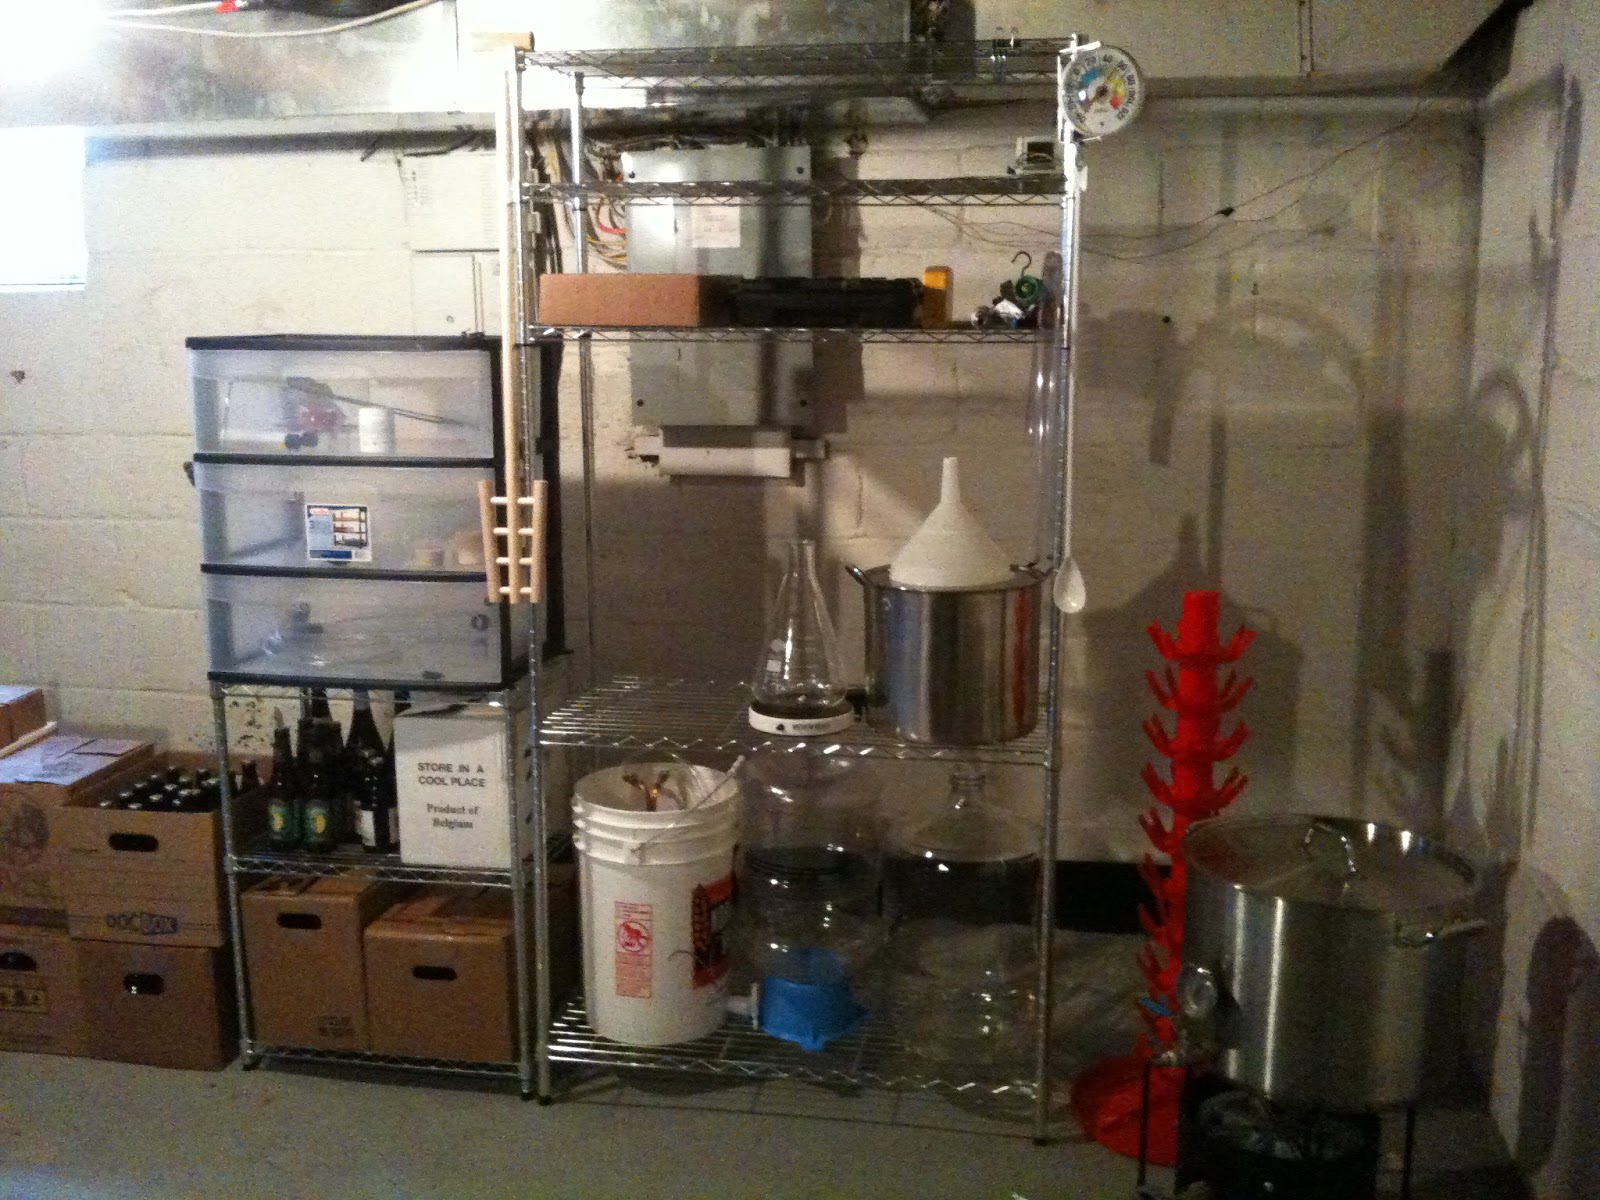
Former brew basement:
|
Hi there, my name is Adam, and I brew at home. About a year ago (August 2010) I stepped into this hobby with a kit from Northern Brewer. Within a few months, I graduated from brewing with extract on the stovetop to all-grain brewing, and I started to collect a lot of stuff related to the hobby. Every home brewer wants an entire basement and/or garage dedicated to his or her brewery, and I am no exception. But for some of us, the bug bites before we have the amount of space we think we need. In my case, I had an entire basement and garage to myself, so amassing a huge cache of gear and beer wasn't a problem. But the growth of my collection was cut short by a cross-country move from the north east of the San Francisco Bay Area, where rents are astronomical and space is at a premium. The space allocated to me has shrunk down to nothing more than a closet, but I will NOT let that inhibit my ongoing passion for brewing. So, for the next year at least, this blog will be all about brewing interesting and delicious all-grain beers in a tight space.
 |
New, neatly organized brew closet:
|
Not depicted here are my propane burner, tank, mash tun, kettles, and immersion chiller, all of which are out in a little storage hutch in my carport. Those items have lids and can stand to get a little dusty between brew days. The stuff in the closet are the essential items that must be kept clean. On the bottom you see my carboys and 3 gallon corny kegs. I can potentially ferment two beers at a time and condition two more down there. I should also mention that those corny kegs can fit in my fridge. So I can naturally carbonate the beer in them and put them on tap using a keg charger for dispense (more on that to come). Next up are some bottles which will soon be full of conditioning beer. I suspect this collection will start to spill up to higher shelves, at which time I'll have to rearrange the upper shelves. Specialty grains, sugars, etc. are also in this closet, along with equipment for sanitation, yeast propagation, measuring, and bottling.
The general strategy here is to brew 3 gallon batches of each new recipe. The beer will get consumed rapidly, of course, but that will only encourage me to keep a an efficient pipeline going. Truth be told, I was producing 5 gallon batches at a faster rate than I could consume, so I used to have cases of homebrew just sitting around getting old. That's fine for some styles, but just downright wasteful for beers that should be consumed fresh. The first challenge to get past will be developing a willingness to drink that last bottle of delicious homebrew X. The goal here is to get really good at brewing and be able to whip up a batch of something I like, not to hang on to things for years for fear that I'll never be able to taste it again.


